All our teachers are trying their bets to provide pupils and parents/guardians with a range of learning tools each week in our class blogs. This may be in the form of PowerPoint presentations, online learning, set work from schoolbooks/e-books and worksheets/booklets. We try to avoid the need for pupils/parents/guardians to print resources as much as possible. However, this is not always possible or some pupils prefer to have a physical copy of a resource in front of them rather than use a document on a computer/tablet screen. We also understand that parents/guardians sometimes prefer to reduce screen-time and therefore would prefer to print.
All our resources in blogs can be printed but we are going to just give a guide here on how to print various files. Most of the files teachers post on the blogs are saved on our Staff Google Drive and so may be different to what parents are used to when it comes to online printing. Various files, whether pictures (.jpg, .png), PDF files, Google Docs, Google Slides etc. are all slightly different when it comes to printing. So following the below guide, based on the file type, will help you to print any file teachers post. (Please not these instructions are based on PCs/laptops and may vary on tablet devices.)
PDF Files
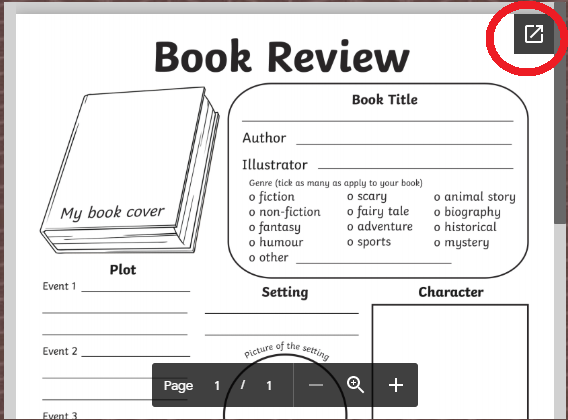
PDF files are one of the most common that parents/guardians wish to print. They appear as below with a page guide and zoom toggle at the bottom and a grey arrow to the top right of the file.

To print a PDF from the blog, we need to click that grey arrow in the top right corner. A new tab will open with the full PDF file displayed as below. From here, click the print icon to the top right of the screen in order to print.

Picture Files
Picture files are also very common on our blogs. Many teachers screenshot pages from e-books or use pictures from online. Teachers upload pictures in too different ways and so there are two different ways to print the picture.
- If teachers share the picture from our Google Drive, when you click on the picture a new tab will open showing a bigger version on the picture. Now, all you need to do is click on print icon to top left of new tab (as below)

2. If teachers put the picture in the blog directly from their computer, clicking on the image will do nothing. Instead, right click the image and then select ‘Save image as’ in the drop-down menu. After saving the image, you can open the image in your photo-viewer (varies depending on Windows) and print directly from there.
Google Docs
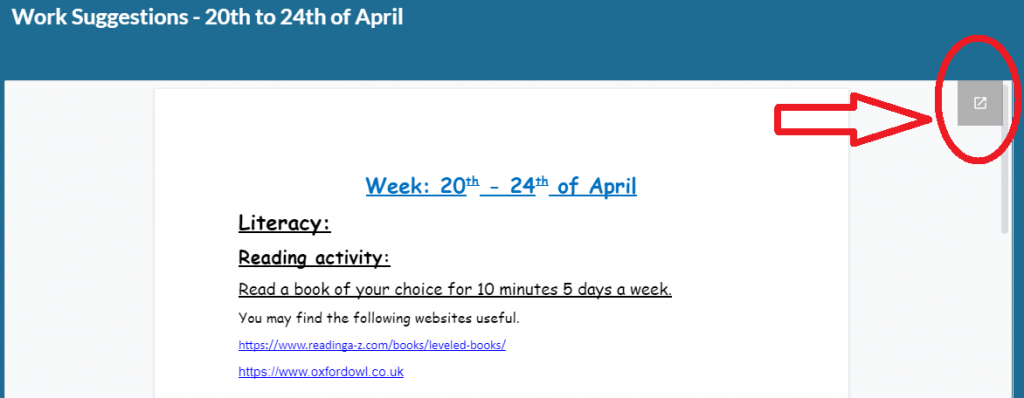
Google Docs look just like Microsoft Word files. In order to print these we again click on the grey arrow at the top right corner of the file in blog pages.

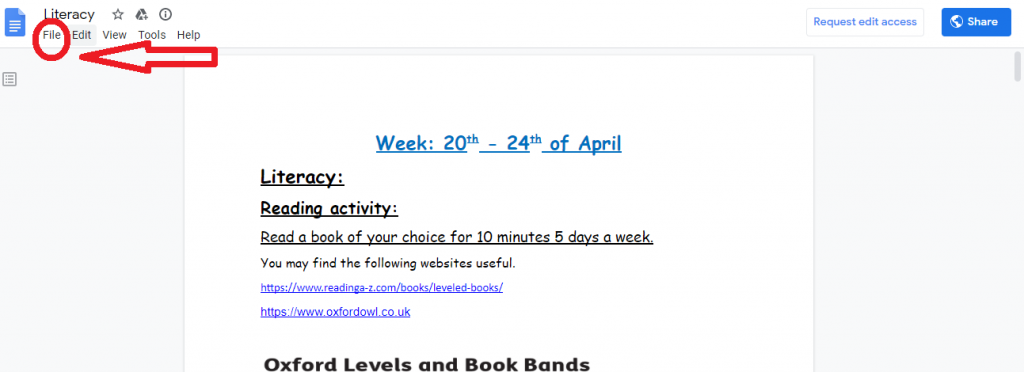
A new tab will open and it will look similar to other Word Processing applications like Microsoft Word. Click on the File menu at the top left of the page.

In this drop down menu, go to the very bottom of the menu and select ‘Print’. Alternatively, when the new tab appears, press CTRL and the letter P at the same time.
We hope the above helps. But if you are still unsure regarding any files on the blogs, contact your child’s teacher via the email address in each class blog.
Category: Image, test, Uncategorized


No Comments